Rails developers, whether new or seasoned, often find themselves dealing with Gemfile and Bundler as they manage dependencies in their applications. This guide covers everything you need to know about the Rails Gemfile and Bundler commands. Let’s dive into topics like organizing gems by groups, handling specific versions, using Gemfile.lock, and much more. Get ready for a comprehensive journey into Rails dependency management!
What Is a Rails Gemfile?
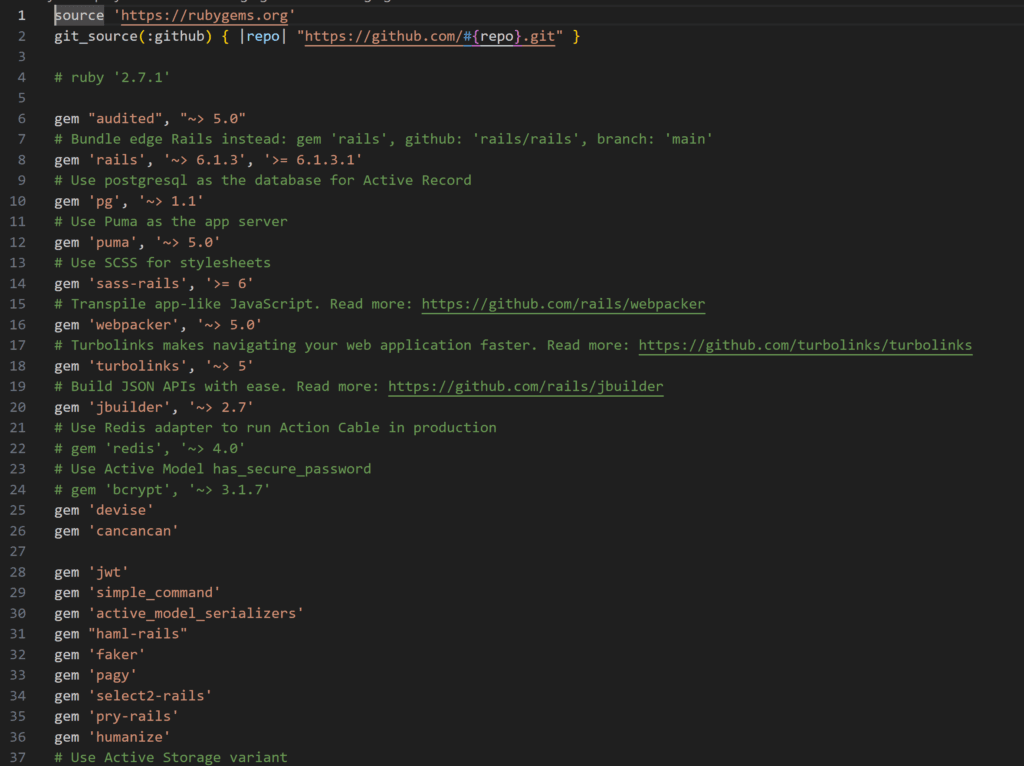
In Ruby on Rails, the Gemfile is where you list all the Ruby gems (libraries) that your application depends on. A gem might be essential for your app’s core functionality, or it might help with testing, development, or deployment. When you run bundle install, Bundler reads the Gemfile and installs any missing gems.
But not all gems are meant for every environment. For instance, you may need some gems exclusively for testing or debugging but not for production. That’s where Gemfile groups come in.

Understanding Gemfile Groups
Grouping gems helps you organize dependencies based on environment or functionality. Common groups include:
- – for tools used in development, like
byebugfor debugging. - – for testing gems like
rspecorfaker. - – gems specific to production, though they’re usually required by default.
To add a gem to a specific group:
group :development, :test do
  gem 'rspec-rails'
  gem 'byebug'
end
Commonly Used Gemfile Groups
Now that we know how to group gems, let’s go over the most common Gemfile groups and what gems are usually included in each.
Development Group
This is where you include gems that help you write, debug, and improve your code. They’re generally not necessary outside the development environment. Examples include:
byebug– for debuggingpry– an interactive REPL to debug your codebetter_errors– for more informative error pagesdevise– for user authentication
Example:
group :development do
  gem 'pry'
  gem 'better_errors'
end
Test Group
For gems specific to testing, you’ll want to include them in the :test group. A few common testing gems are:
rspec-rails– a popular testing frameworkfactory_bot_rails– for creating test datacapybara– for simulating user interactions in tests
group :test do
  gem 'rspec-rails'
  gem 'factory_bot_rails'
end
Production Group
This group includes gems required only in production. For example, you might need:
pg– if you’re using PostgreSQL in productionpuma– a web server optimized for production
group :production do
  gem 'pg'
  gem 'puma'
end
Custom Group
If you have a staging environment or a CI/CD pipeline, you can define custom groups that load only in those contexts. Here’s how:
group :staging do
  gem 'some-staging-specific-gem'
end
To use a custom environment, set RAILS_ENV=staging when you run your app or deploy to staging.
Pros and Cons of Using Gemfile Groups
Let’s take a closer look at the benefits and potential pitfalls.
Pros
- Improved Performance: Loading fewer gems speeds up boot times, especially in production.
- Security: Minimizes the gems that are accessible in production, reducing vulnerabilities.
- Code Clarity: Grouped Gemfiles are easier to read and maintain.
- Flexibility: Load only what you need, when you need it.
Cons
- Complexity: More groups mean more to manage, which can be overwhelming for large teams.
- Dependency Issues: Some gems have complex dependencies that may break if loaded only in certain environments.
Best Practices for Using Gemfile Groups
Using Gemfile groups effectively requires a few best practices:
- Use Clear Group Names: Stick with standard names like
:development,:test, and:production. - Avoid Overloading Groups: Don’t put too many gems in a single group; it defeats the purpose.
- Review Regularly: Keep your Gemfile lean by removing unused or outdated gems.
- Leverage the
--withoutFlag: This is crucial in production environments to avoid unnecessary bloat. Below is explained.
Installing Specific Groups with Bundler
Sometimes, you want to install only certain groups. For example, in production, you might not need the test or development gems:
bundle install --without development testThis command excludes the specified groups, saving space and memory.
How to Install a Specific Version of a Gem
If you need a specific gem version, specify it directly in the Gemfile:
gem 'rails', '6.0.0'Or, if you need a version within a range, you can set it like this:
gem 'rails', '~> 6.0'This tells Bundler to install 6.0.x but not upgrade to 6.1.
What Is the Default Group in Bundler?
If no group is specified for a gem, it defaults to all environments. So, unless a gem is grouped, it’ll be installed for every environment.
Installing Gems to a Specific Directory
By default, gems are installed in Bundler’s default location. But if you want to install gems in a specific directory, you can use:
bundle install --path vendor/bundleThis command installs gems into the vendor/bundle directory, which can be helpful in controlled environments.
Skipping Groups with bundle install --without
In development or staging, you may want to exclude production-specific gems. The command bundle install --without <group> lets you skip any group:
bundle install --without productionbundle install vs bundle update: What’s the Difference?
These two commands serve distinct purposes:
bundle install– Installs gems as listed inGemfile.lock, ensuring consistency.bundle update– Updates gems to the latest versions within specified version limits, which modifies theGemfile.lockfile.
If your dependencies are stable, stick with bundle install to avoid unexpected updates.
Understanding Gemfile.lock
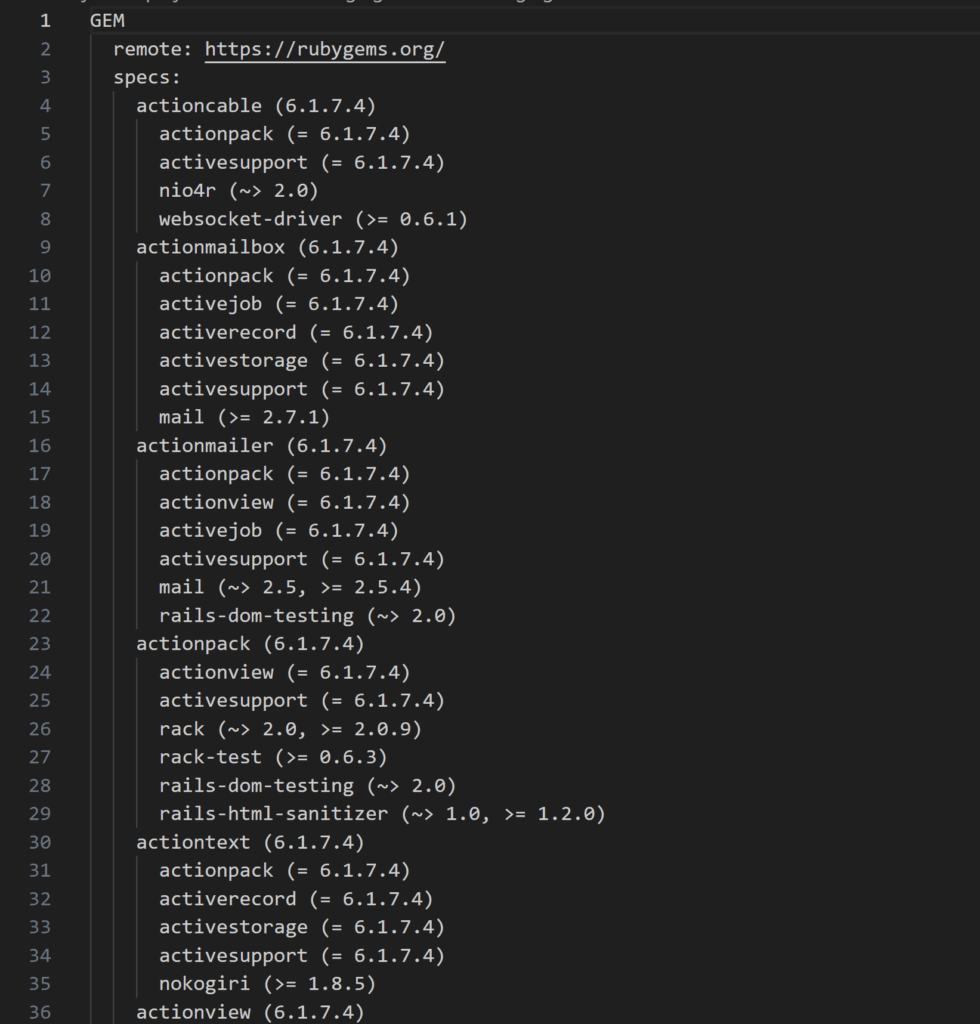
The Gemfile.lock file records the exact versions of all gems and dependencies installed, ensuring the same environment across all systems and deployments.

Should You Delete Gemfile.lock?
Generally, no. Deleting Gemfile.lock removes version consistency, which could cause issues across environments.
Should You Edit Gemfile.lock?
Avoid manual edits. Instead, modify your Gemfile and run bundle install or bundle update to keep versions aligned automatically.
How to Add Gems to a Gemfile
Adding a gem to Gemfile is simple:
gem 'new_gem'After adding, run bundle install to download and install it.
Generating and Updating the Gemfile.lock
Whenever you run bundle install, Bundler automatically generates or updates Gemfile.lock. This file ensures that everyone using the project installs the same versions.
Removing Gems from Gemfile.lock
To remove a gem, delete it from Gemfile and run:
bundle installThis regenerates Gemfile.lock without the deleted gem.
Gemfile Example & Common Practices
Here’s a simple example of a well-organized Gemfile:
source 'https://rubygems.org'

ruby '3.0.1'

gem 'rails', '~> 6.1'
gem 'pg'

group :development do
  gem 'pry'
  gem 'annotate'
end

group :test do
  gem 'rspec-rails'
  gem 'capybara'
end
Troubleshooting Common Issues
Encountering issues with gem groups? Here are some quick fixes:
- Missing Gems: If a gem is missing in an environment, check that it’s in the correct group and that the environment is correctly set.
- Dependency Errors: Sometimes, a gem in one group depends on another in a different group. Ensure your dependencies are correctly aligned.
- Loading Errors: Ensure that you run
bundle installin the right environment. You may need to runbundle install --without development testin production.
In Summary
The Gemfile and Gemfile.lock are essential parts of any Rails project, serving as the foundation for dependency management. Using Bundler commands effectively—whether to install, update, or customize gem installations—can streamline development and reduce issues in different environments. By structuring your Gemfile well and understanding these tools, you ensure a smoother, more consistent experience for every developer on the project. Whether you’re managing production dependencies, installing specific versions, or setting up for development, mastery of Bundler will make Rails development a breeze.
If you want to learn Ruby on Rails deeply, check out our more RoR related articles.


